How to Install a Load-Bearing Beam
How to Install a Load-Bearing Beam: A Comprehensive Guide
When undertaking a home renovation project, particularly one that involves opening up your space or removing walls, installing a load-bearing beam becomes an essential task. Whether you want to remove a wall to create an open-plan living area or simply improve the flow of your home, a properly installed load-bearing beam ensures the structural integrity of your house remains intact. However, this is no simple task, and it’s important to approach the project with care and precision.
In this guide, we’ll walk you through the steps to install a load-bearing beam safely and effectively, covering everything from tools to safety measures and expert tips.
Why You Might Need a Load-Bearing Beam
A load-bearing wall plays a crucial role in the stability of your home. It supports the weight of the structure above, including the roof, upper floors, or attic. When you remove a wall for aesthetic reasons or to create a larger space, a load-bearing beam is needed to redistribute the weight. A well-installed beam ensures that the load is transferred to the foundation without compromising the building’s structural safety.
Before You Begin: Safety First!
Installing a load-bearing beam is no small feat and involves working with heavy materials and structural elements. Safety should always be your top priority. Follow these safety precautions before starting:
Wear Protective Gear
Always wear safety goggles, gloves, and steel-toed boots to protect yourself from debris, falling materials, and tools.
Check for Hidden Utilities
Before cutting or drilling, confirm that there are no electrical wires, plumbing, or gas pipes in the wall where you’ll be working. If unsure, consult a professional.
Ensure Structural Support
Before removing any walls, temporarily support the area above using proper shoring or jacks to prevent accidental collapse.
Work with a Partner
Installing a heavy beam requires coordination, so enlist help if possible. Handling large beams alone can be dangerous.

Step 1: Gather the Tools and Materials You’ll Need
Before you begin, ensure you have the necessary tools and materials. Here’s a list of what you’ll need for the job:
Tools:
-
Measuring Tape – To measure the length and height of the area.
-
Hammer and Nails or Screws – For securing temporary supports.
-
Circular Saw – To cut any materials (if needed).
-
Drill – For drilling holes and securing beams.
-
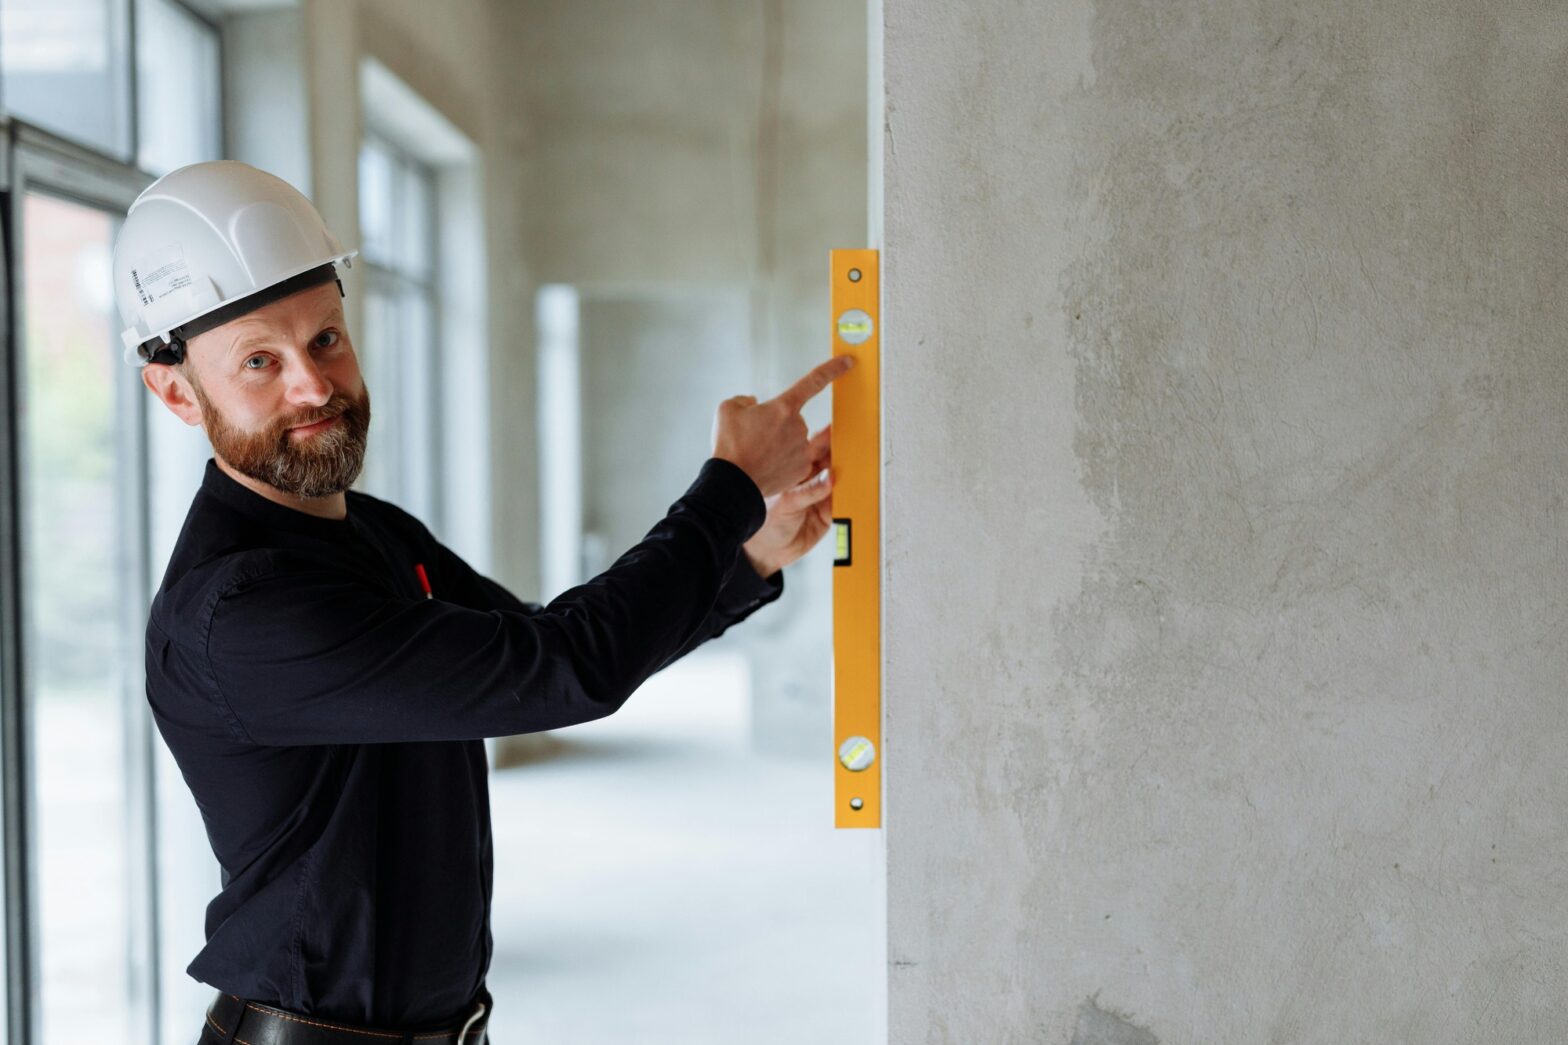
Level – To ensure the beam is properly aligned and level.
-
Shoring or Jacks – To support the structure above during installation.
-
Lifting Equipment – A hoist or crane for heavier beams.
Materials:
-
Load-Bearing Beam – Steel or wood, depending on the required strength and your project.
-
Support Posts – These will be placed under the beam for added support.
-
Fasteners – Bolts, nuts, or heavy-duty screws designed for structural applications.
-
Shims – Used to level the beam if necessary.
Step 2: Plan and Measure
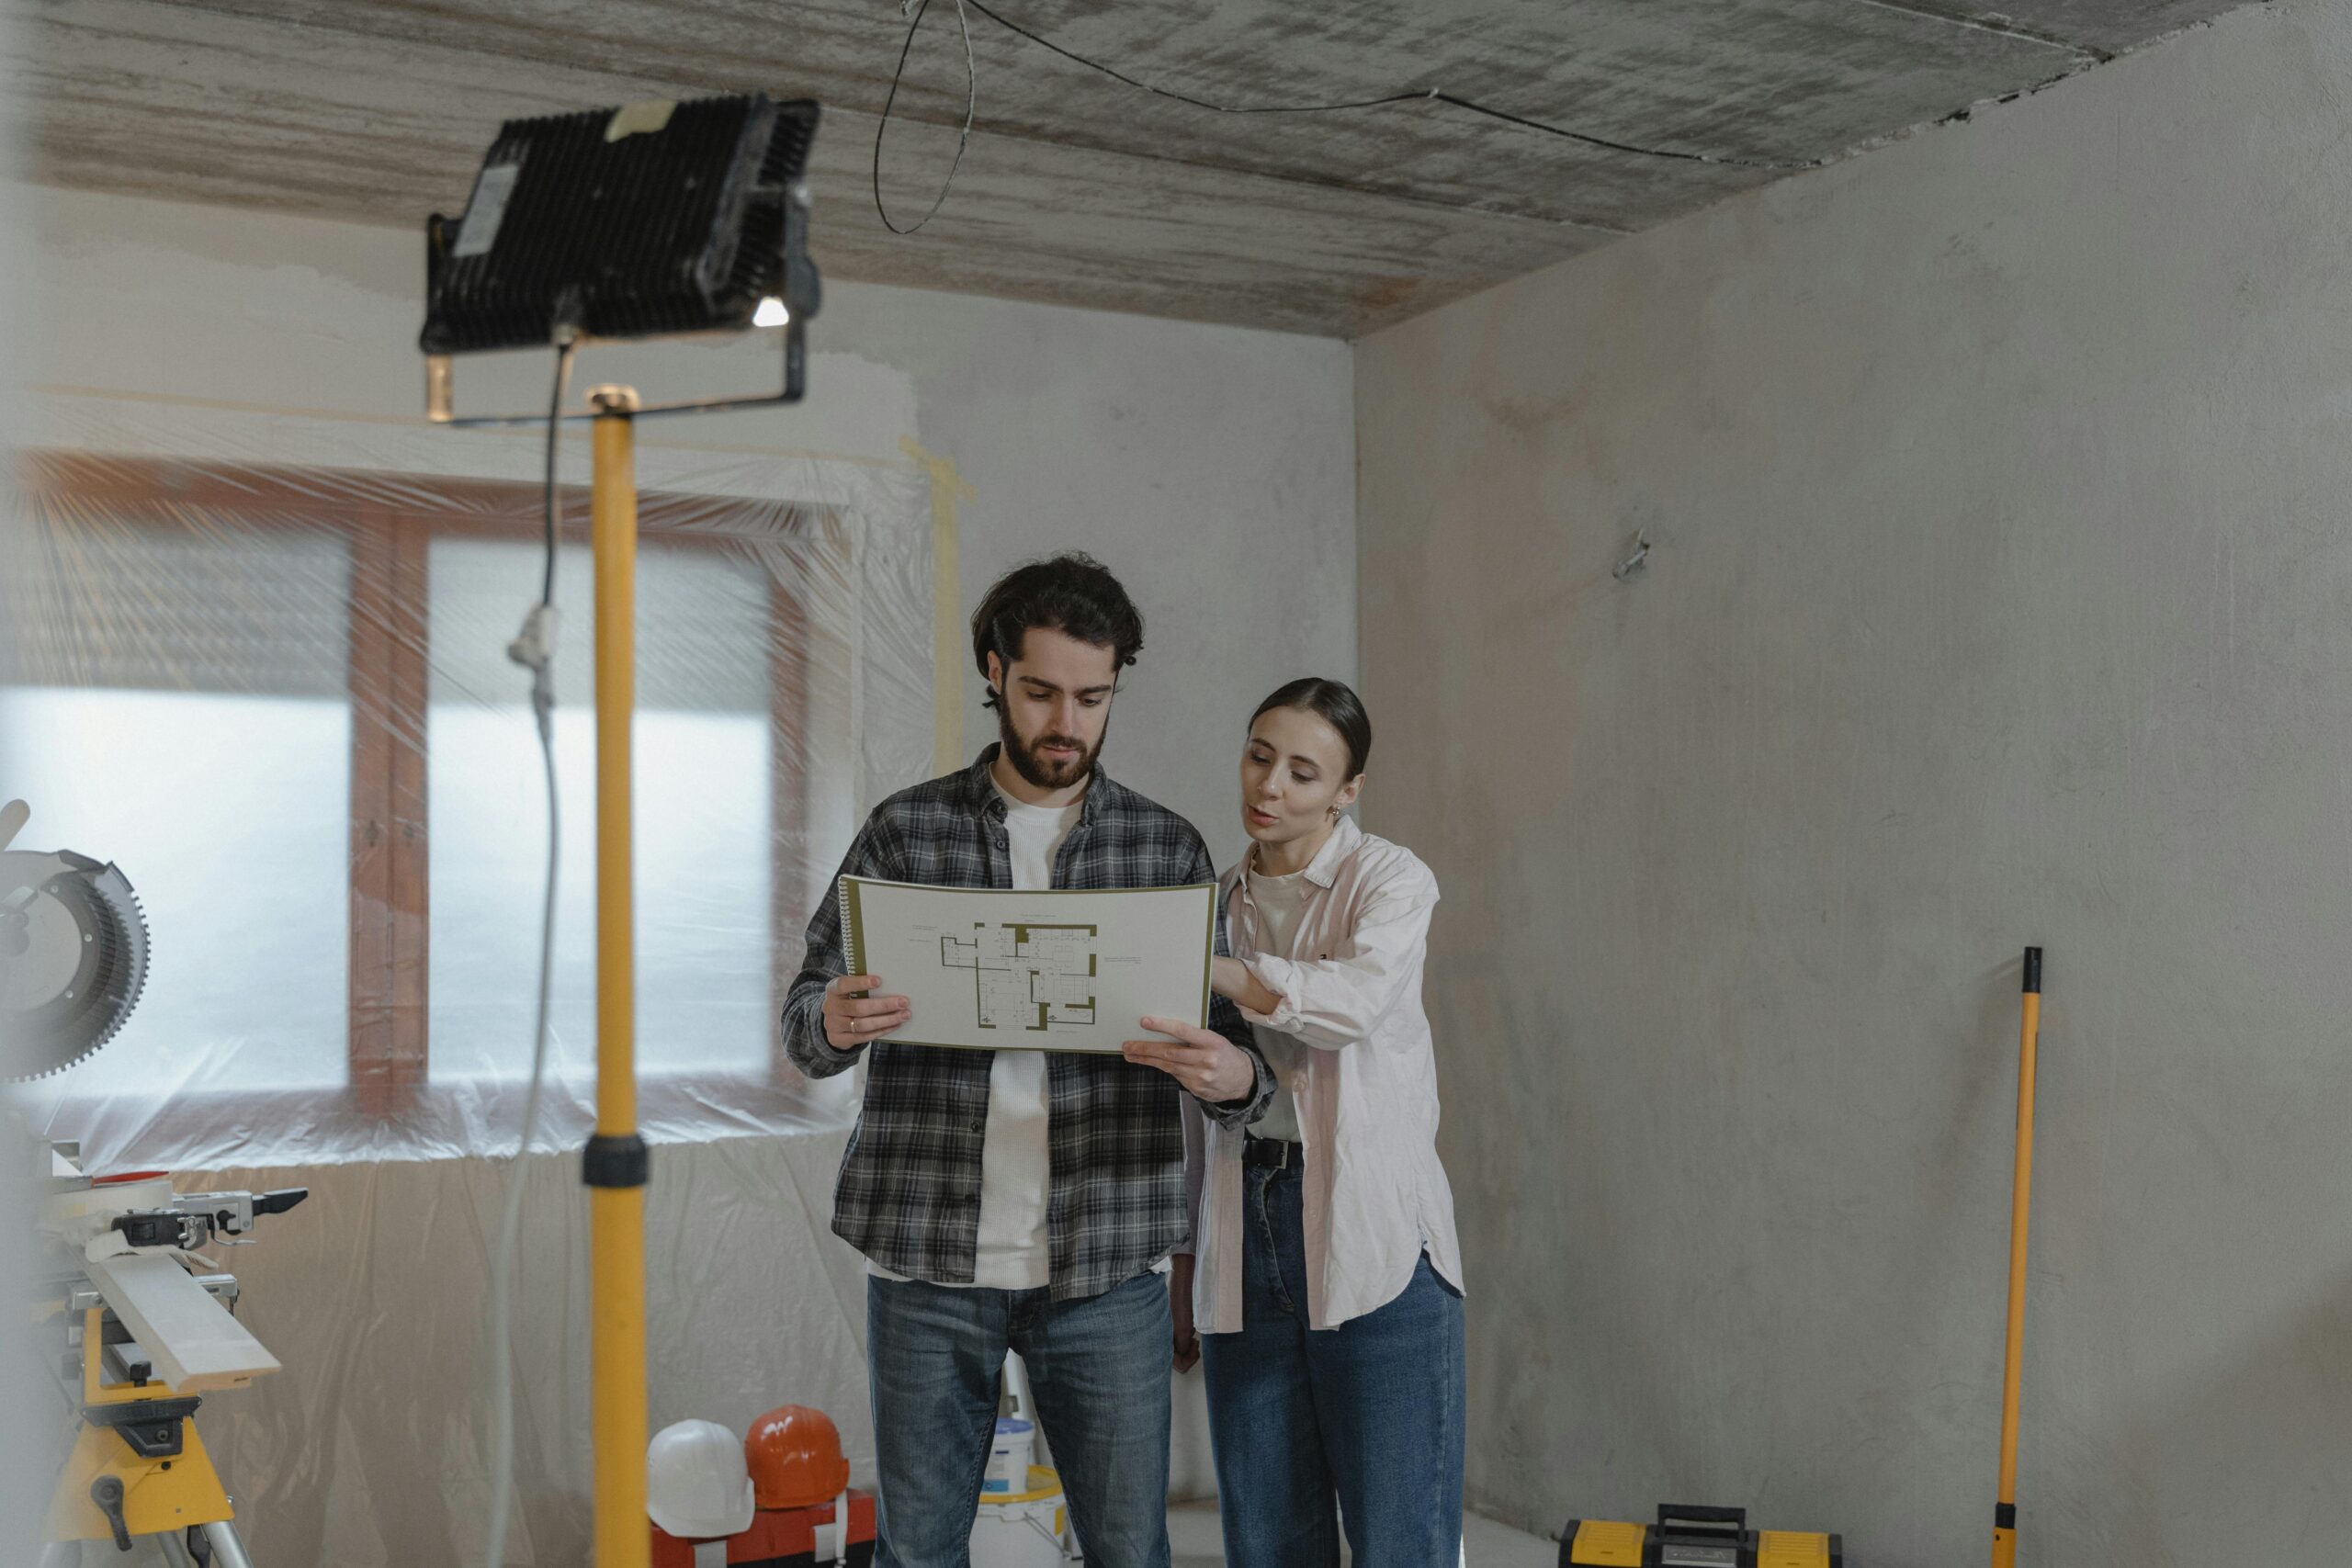
The first step is to assess the area where the load-bearing beam will go. Measure the distance between supports, the length of the wall, and the height of the opening.
Key Measurements:
-
Width of the Opening – The beam needs to cover the entire width and carry the load from above.
-
Beam Height – It must fit within the available space while offering sufficient support.
-
Load Calculations – Determine the weight the beam must support. Consult a structural engineer if needed, especially for multi-story buildings.
Step 3: Temporarily Support the Structure
Before removing the load-bearing wall, you must properly support the upper structure.
Place the Jacks:
Position adjustable jacks or posts under the floor joists or ceiling beams directly above the wall. Ensure they are secure and able to carry the load.
Check Alignment:
Use a level to confirm the temporary supports are evenly placed and stable.
Step 4: Remove the Wall and Prepare the Opening
Once the temporary supports are in place, you can safely remove the wall.
Demolish the Wall:
Use a sledgehammer or circular saw to take down the wall. Carefully remove drywall and cut through studs as needed.
Prepare the Opening:
Clear away debris and framing materials to make room for the new beam.
Step 5: Install the Load-Bearing Beam
This is the critical phase installing the new structural beam.
Position the Beam:
With help from a partner or lifting device, lift and place the beam into position. Ensure it’s properly aligned.
Secure the Beam:
Attach the beam to the support posts using heavy-duty bolts or screws. Ensure it’s anchored at both ends to the foundation or nearby structure.
Shim the Beam:
If necessary, use shims to level the beam. Always double-check alignment with a level at every step.
Step 6: Recheck Alignment and Finish
Once the beam is installed:
Remove Temporary Supports:
Slowly and carefully remove the jacks or supports. Confirm the beam is fully bearing the load.
Reinforce the Beam:
If your project demands it, add extra framing or bracing to provide additional support.
Step 7: Final Inspections and Safety Checks
Inspect the Installation:
Go over your work thoroughly. Check that everything is level, secure, and properly fastened.
Consult a Professional:
If you’re unsure about any part of the process, have a structural engineer or contractor review your work to ensure safety and code compliance.

When to Call a Professional
While installing a load-bearing beam can be a DIY project for experienced homeowners, there are situations where it’s essential to consult or hire a professional:
Permitting and Code Compliance
-
Local building codes vary, and permits are often required for structural changes.
-
A contractor or engineer will ensure your project meets legal and safety standards.
Heavy or Complex Beams
-
Steel or long-span beams are difficult to handle and may require specialized lifting tools or cranes.
-
Professionals are equipped to manage these safely and efficiently.
Structural Concerns
-
If there is any uncertainty about load distribution, floor plan modifications, or wall structure, professional input is crucial.
-
A structural engineer can calculate load requirements and avoid costly or dangerous mistakes.
Cost Breakdown: Understanding the Investment
The total cost of installing a load-bearing beam can vary greatly depending on size, materials, and whether the work is DIY or done by professionals. Here’s a simplified guide:
Material Costs
| Material | Estimated Cost per Linear Foot |
|---|---|
| Wooden Beam | $100 – $500 |
| Steel Beam | $300 – $700 |
| Support Posts | $50 – $150 each |
Labour Costs
-
DIY: Free in labour, but time-intensive and riskier.
-
Professional Help: $50–$100/hour (labour alone).
-
Total job time: 1–3 days, depending on complexity.
Total Cost Estimates
| Type | Estimated Total Cost |
|---|---|
| DIY Installation | $500 – $2,000 (materials only) |
| Professional Job | $2,000 – $10,000+ |

Tips for Choosing the Right Beam
Choosing the appropriate beam is essential to ensure structural safety and performance. Here’s what to consider:
Wood vs. Steel
-
Wood Beams
-
Best for shorter spans and lighter loads
-
Cost-effective and easier to install with standard tools
-
May not be suitable for larger openings or high-load situations
-
-
Steel Beams
-
Ideal for longer spans and heavier loads
-
Stronger and more durable than wood
-
Typically more expensive and may require special equipment for cutting and installation
-
Beam Sizing
-
The size of your beam depends on:
-
Length of the span (distance it needs to cover)
-
Weight of the load it needs to support
-
Material of the beam (wood vs. steel)
-
Important: If you’re not 100% confident in your calculations, consult a structural engineer to determine the proper size and material for your project.
Post-Installation Tips
After the beam is installed, here are a few things to keep in mind to ensure it stays safe and looks good:
Check for Settling
-
Monitor the beam in the first few weeks after installation
-
Look for signs of sagging, shifting, or cracking
-
Minor settling is normal, but major movement may indicate a problem
Aesthetic Finishes
-
Wood beams can be stained or painted to match your interior
-
Steel beams can be coated with a protective finish to prevent rust
-
If left exposed, beams can become a design feature of your space

Common Issues and Troubleshooting
During the installation of a load-bearing beam, several challenges can arise. Here are some common issues and how to address them:
-
Beam Warping: Over time, untreated or improperly sealed wooden beams may warp. To avoid this, ensure the beam is made from high-quality, treated wood. If warping occurs, it’s advisable to consult a professional to assess if additional support or replacement is needed.
-
Structural Instability: If temporary supports aren’t holding the load properly, additional posts or jacks may be required. Reinforcing these supports can prevent potential damage and ensure stability during installation.
Local Building Codes and Regulations
Before proceeding with your installation, it’s crucial to check your local building codes and permit requirements. Some areas may require a structural engineer’s report or specific approvals before beginning work. To determine what’s needed, visit your local building department or consult with a licensed contractor.
When to Call a Professional
While DIY installation is an option, there are instances when hiring a professional is recommended:
-
Permitting and Code Compliance: If you’re unsure about necessary permits or regulations, a professional contractor can help ensure you’re following local codes and guidelines.
-
Large or Complex Beams: For beams that span large distances or involve steel components, a professional can ensure that the beam is appropriately sized and safely installed.
-
Structural Integrity Concerns: If you’re uncertain about the load calculations or structural integrity, consulting a structural engineer is important to avoid any safety hazards.

FAQ Section
-
Can I install a load-bearing beam without a permit?
In most cases, installing a load-bearing beam requires a permit, as it constitutes a structural change to your home. Be sure to check with your local authorities to understand the permit and approval process before starting. -
How do I know if my beam is the correct size?
The size of your beam depends on several factors, including the span and load it will bear. To ensure the beam is appropriately sized, it’s recommended to consult with a structural engineer. -
What if my floor joists are not aligned with the beam placement?
If your floor joists don’t align with where the beam is placed, additional framing may be needed to properly support the beam. A professional contractor can assist in making the necessary adjustments to ensure proper alignment and stability. -
How do I ensure the beam is level during installation?
To ensure the beam is level, use a carpenter’s level or laser level during installation. It’s important to make small adjustments until the beam is perfectly level before securing it in place. -
What materials should I use for my load-bearing beam?
Load-bearing beams can be made of various materials, including wood, steel, or engineered lumber. The choice of material depends on factors such as the span, load, and your home’s structural requirements. Consult with a structural engineer to determine the best material for your needs. -
How long will it take to install a load-bearing beam?
The installation time for a load-bearing beam can vary depending on the size of the beam, the complexity of the project, and whether additional framing or adjustments are needed. On average, installation can take anywhere from a few hours to a couple of days. -
Can I install a load-bearing beam on my own, or should I hire a professional?
While some homeowners may attempt to install a load-bearing beam themselves, it’s often recommended to hire a professional due to the complexity and safety concerns involved. A contractor or structural engineer can ensure the beam is properly sized, installed, and in compliance with building codes. -
What should I do if I notice cracks in my walls or ceiling after installing the beam?
Cracks in your walls or ceiling can be a sign of shifting or settling after installation. If you notice cracks, it’s important to inspect the installation for any issues and consult with a professional to address any potential structural concerns.
Your Next Steps
After the beam is installed, take time to assess the newly opened space. Repair any drywall, trim, or flooring that may have been disrupted during installation. This is also a great time to consider further renovations, such as custom cabinetry or a more open-plan layout.
If you encounter any issues or have concerns during the process, remember that professional help is always available. Whether you’re reinforcing the beam or addressing other challenges, hiring a contractor or structural engineer can help ensure the best outcome for your project.

